Why use shellac? It is a very practical coating for bar tape, providing a tough and weatherproof coating, whilst still retaining the grippy texture of the cotton bar tape beneath. It can last for many years and can be re-touched or re-coated to prolong its life. Constructeurs such as Alex Singer, René Herse and Routens used it regularly. In my opinion it looks aesthetically very pleasing too.

What is shellac? Mostly produced in India and Thailand, shellac is a secretion from the Lac beetle on the bark of trees, from which it is scraped. It is melted down and purified and then dried in thin sheets which are broken up into flakes. In France shellac is known as gomme laque.
Various shellac colours are available and you can mix your own or buy ready mixed. I mix my own, since shellac has a shelf life of approximately six months, it works better, and it’s cheaper too. It also allows you to mix up small quantities for re-touching if you scrape the finish at a later date. Be sure to mark your jar with the date the mixture was made! Amber or Orange shellac is the most useful colour. Important: The flakes should be of the de-waxed variety. In the UK there is a shellac supplier called W.S.Jenkins, who can provide what you need, located in North London. It can also be obtained via ebay listings – 100g or 4 ozs is more than enough to do one bike. Keep surplus flakes in an air proof jar…they last ages that way.
In an old jam jar I fill it about a quarter full with flakes, and then fill the jar about on third full with methylated spirits (denatured alcohol). Denatured alcohol is simply alcohol with an additive to make it unpalatable for drinking! Stir well, every half hour for the first 3 or 4 hours or so, then leave overnight, stirring thoroughly the next day. Make sure the flakes are fully dissolved before you start to use it. This may take up to 24 hours. The consistency should be varnish like, with a rich amber colour. If it’s too thin, add more flakes, too thick add more alcohol. Best that it is slightly too thick, and can be diluted a bit, rather than going through the melting process again.
Different tape colours can be used to create various finishes, but in my experience white and brown tape are the most useful. White combined with Amber shellac gives the classic French look of rich amber, such as used by Alex Singer. Brown tape followed by Amber shellac produces a nice dark brown finish which may be suitable if you want to match a dark coloured saddle, for instance.
Amber shellac over white bar tape:


Amber shellac over brown bar tape:


Lemon or blonde shellac over white tape to match the copper-gold colour of this René Herse:

Roll back the brake hoods and secure with tape, if they are flexible enough. If they are fragile vintage items you will have to carefully work around them!
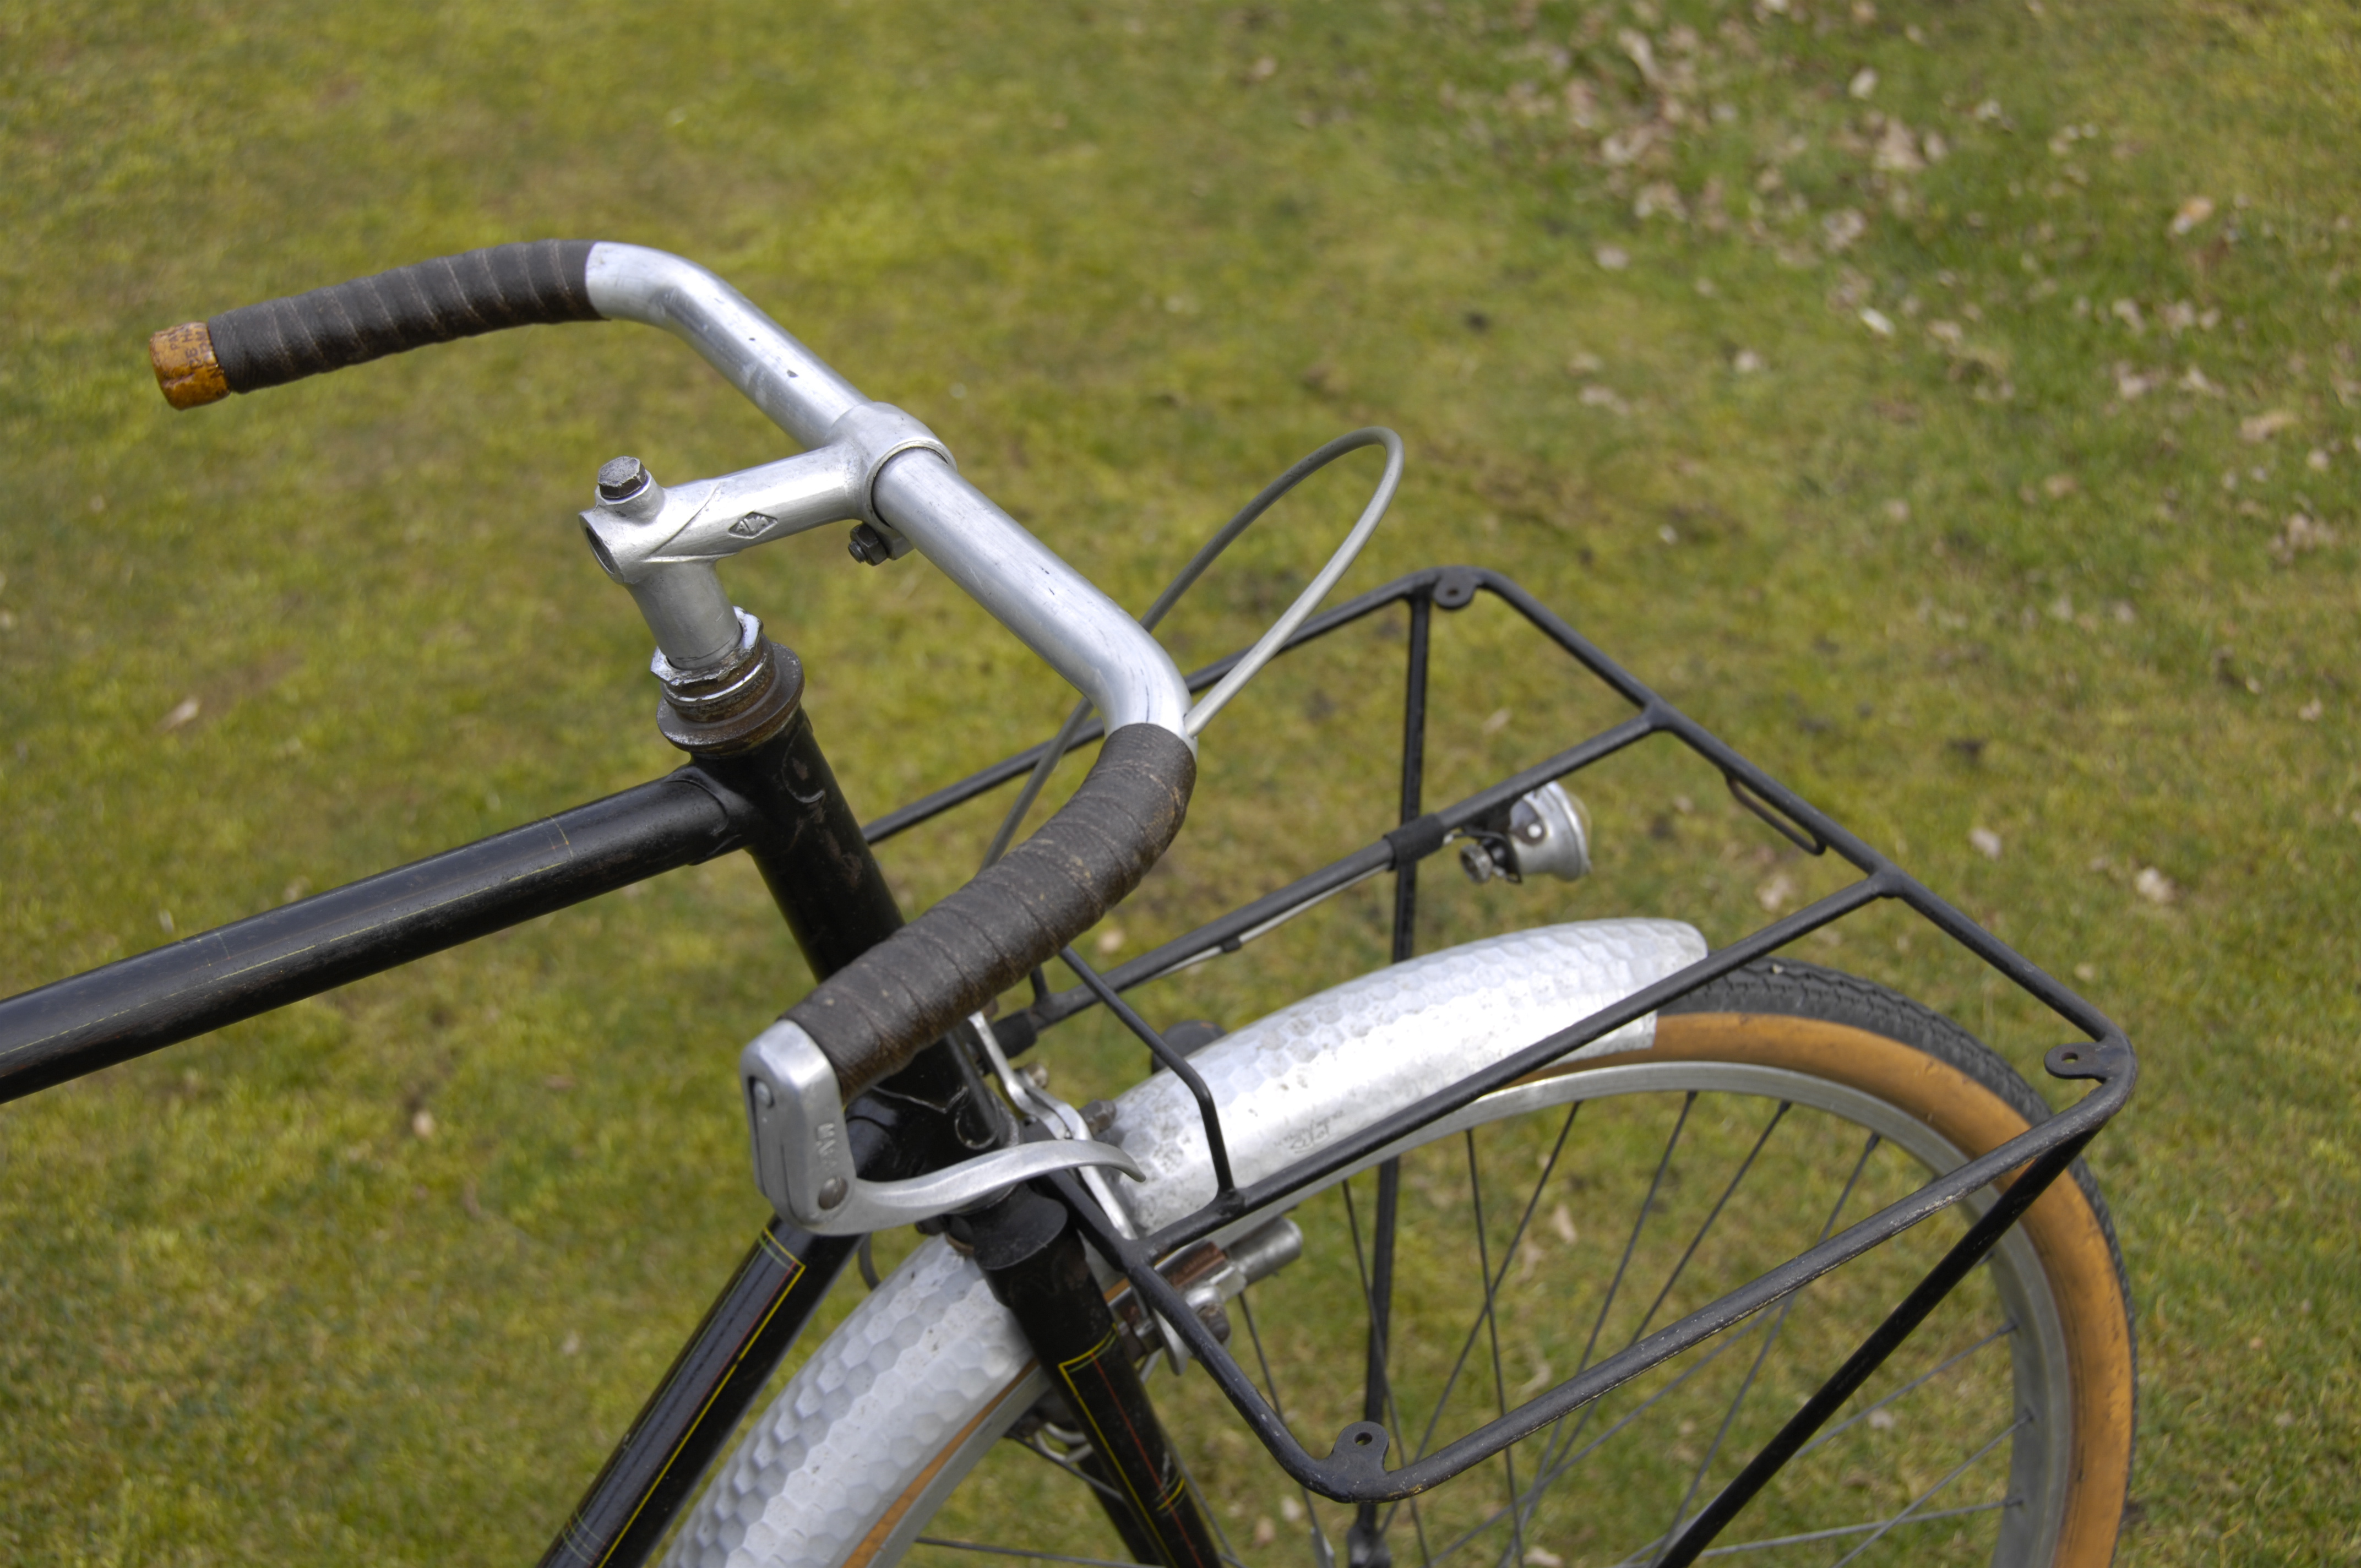
You can usually get away with two rolls of tape for a pair of drop handlebars. It depends on how much you overlap when winding it on. I tend to wind on with quite a bit of overlap, so I sometimes end up using a little more than two rolls – wish they made the rolls a bit longer! My first preference for make is Velox Tressostar. Newbaums also make good tape. Velox is slightly stretchier, making it easier to use around the brake housings.
Make sure your hands are clean before starting! Before applying the tape, cut six 2 inch long sections for the brake lever area. This prevents any bare metal showing around the lever hoods. Apply the back pieces first, then the side sections tight up to each lever housing.
Tape in place any cables on more modern machines, in two or three places, starting and finishing tape underneath the bar.


I prefer to wind the tape from the bar end. I start with the left hand side of the bar seen facing the handlebars from the front of the bike. Anchor the tape underneath the bar, with the roll towards you, allowing enough to tuck inside the bar end, and then wind away from you round the bar, keeping the overlap as even as possible, and the tension tight at all times, taking particular care around the lever housings. This is the most difficult bit, as tension needs to be tight and great care needs to be taken to prevent creases. If you get a crease, unwind a bit and do it again.


Finish the end towards the centre of the bars by making the cut underneath the bar where the end of the tape will not be visible. Measure distance of finish to the stem, to match on other side.
Important: The other side should be a mirror image of the first side. Make sure that you are winding correctly.
If you don’t have nice end plugs, you can use natural wine corks inserted into the bar ends. If you do that, insert them now as it’s best to shellac over them.
On my porteur I used a cork from a bottle of French Cider, just for fun. You can use shellac as a glue to fix the cork in place:
Prepare the bike for applying shellac by covering the frame and front wheel with an old sheet or towel, so that it doesn’t get splashed. Best to have the front wheel in a floor bike stand, so you can move around the handlebars. The first coat can be put on generously, using a small soft decorators paintbrush (natural bristles are best), as it will soak into the tape. Try to apply smoothly and slowly, so as not to ‘froth’ the shellac, and watch out for drips, particularly underneath the bars. Leave at least 2-3 hours between coats, ensuring that it is dry before re-coating. Three or four coats usually suffice. Keep the coats even and free from runs and drips. Several thin coats are better than thick coats. The aim is to retain the texture of the bar tape for grip, rather than a smooth slippery gloss finish! Leave for at least 24 hours before using.
Inbetween coats I wrap the brush head in cling film to prvent it hardening. The brush is cleaned using meths/alcohol, and any drips on the frame or other parts can also be removed with this.
If you scrape the bars and remove some of the coating at a later date, you can mix up a small amount of shellac and touch it in. Effectively, the tape is ‘glued’ to the handlebars by the shellac so there’s no need to use twine wrapping at the stem end, so beloved of Rivendell and Velo Orange! Personally I think twine looks messy, and is an unnecessary bit of decoration. It was certainly never used by the great ‘constructeurs’.
Historical Note:
Shellac was used as an adhesive for sticking on solid bicycle tyres, back in the 19th century. Solid tyres were held together using interlocking spiral wires in the UK, then stretched onto the rim, the shellac being used as a security measure to prevent the tyre rolling off the rim.
